The Ultimate Guide to Knocking In a Cricket Bat the Right Way
What is Knocking in a Cricket Bat?
Knocking in a cricket bat is the process of compressing and hardening the willow fibres on the bat’s face, edges, and toe using a wooden mallet or an old leather ball. Think of it like seasoning a cast-iron pan: you’re preparing the bat to handle real-match impact before it ever faces a hard ball in anger. This early preparation phase, known as Knocking In a Cricket Bat, helps improve durability and match readiness from the very beginning.
English willow (and even Kashmir willow) bats are made from relatively soft, fibrous wood that can crack, split, or dent when struck by a hard cricket ball without prior conditioning. Knocking in slowly presses those fibres together, creating a dense, resilient hitting surface. The preparation process can differ slightly depending on the bat material, particularly when comparing English vs Kashmir Willow bats.
It’s not just a ritual. It’s the difference between a bat that lasts two seasons and one that cracks in its first innings.
At ANA Sports, one of the most common questions we receive from customers, new and experienced alike, is some version of: “Do I really need to knock it in?” The answer, every single time, is yes. And how you do it matters just as much as whether you do it. This is also why following a proper bat selection guide matters, because different willow grades and bat profiles require different levels of preparation.
Why is It Necessary?
Proper Knocking In a Cricket Bat helps compress these loose fibres before the bat is exposed to real match conditions. A hard ball travelling at 80–90 mph hits with enormous force. Without knocking in:
• The edges will crack, which is the most common point of failure
• The face can develop deep dents or splits from straight drives
• The toe becomes brittle, especially in wet conditions
• The bat’s overall lifespan is cut drastically short
Knocking in also subtly improves bat performance. Knocking in also subtly improves the performance of the bat. A properly prepared Performance Cricket Bat produces a cleaner, more confident connection that experienced players notice immediately.
We’ve had customers return bats to us claiming they were “defective”, only to find the bat had never been knocked in and had faced a hard ball on its first outing. The damage is always the same: crushed edges, a dented face, sometimes a hairline split along the grain. None of it would have happened with proper preparation.
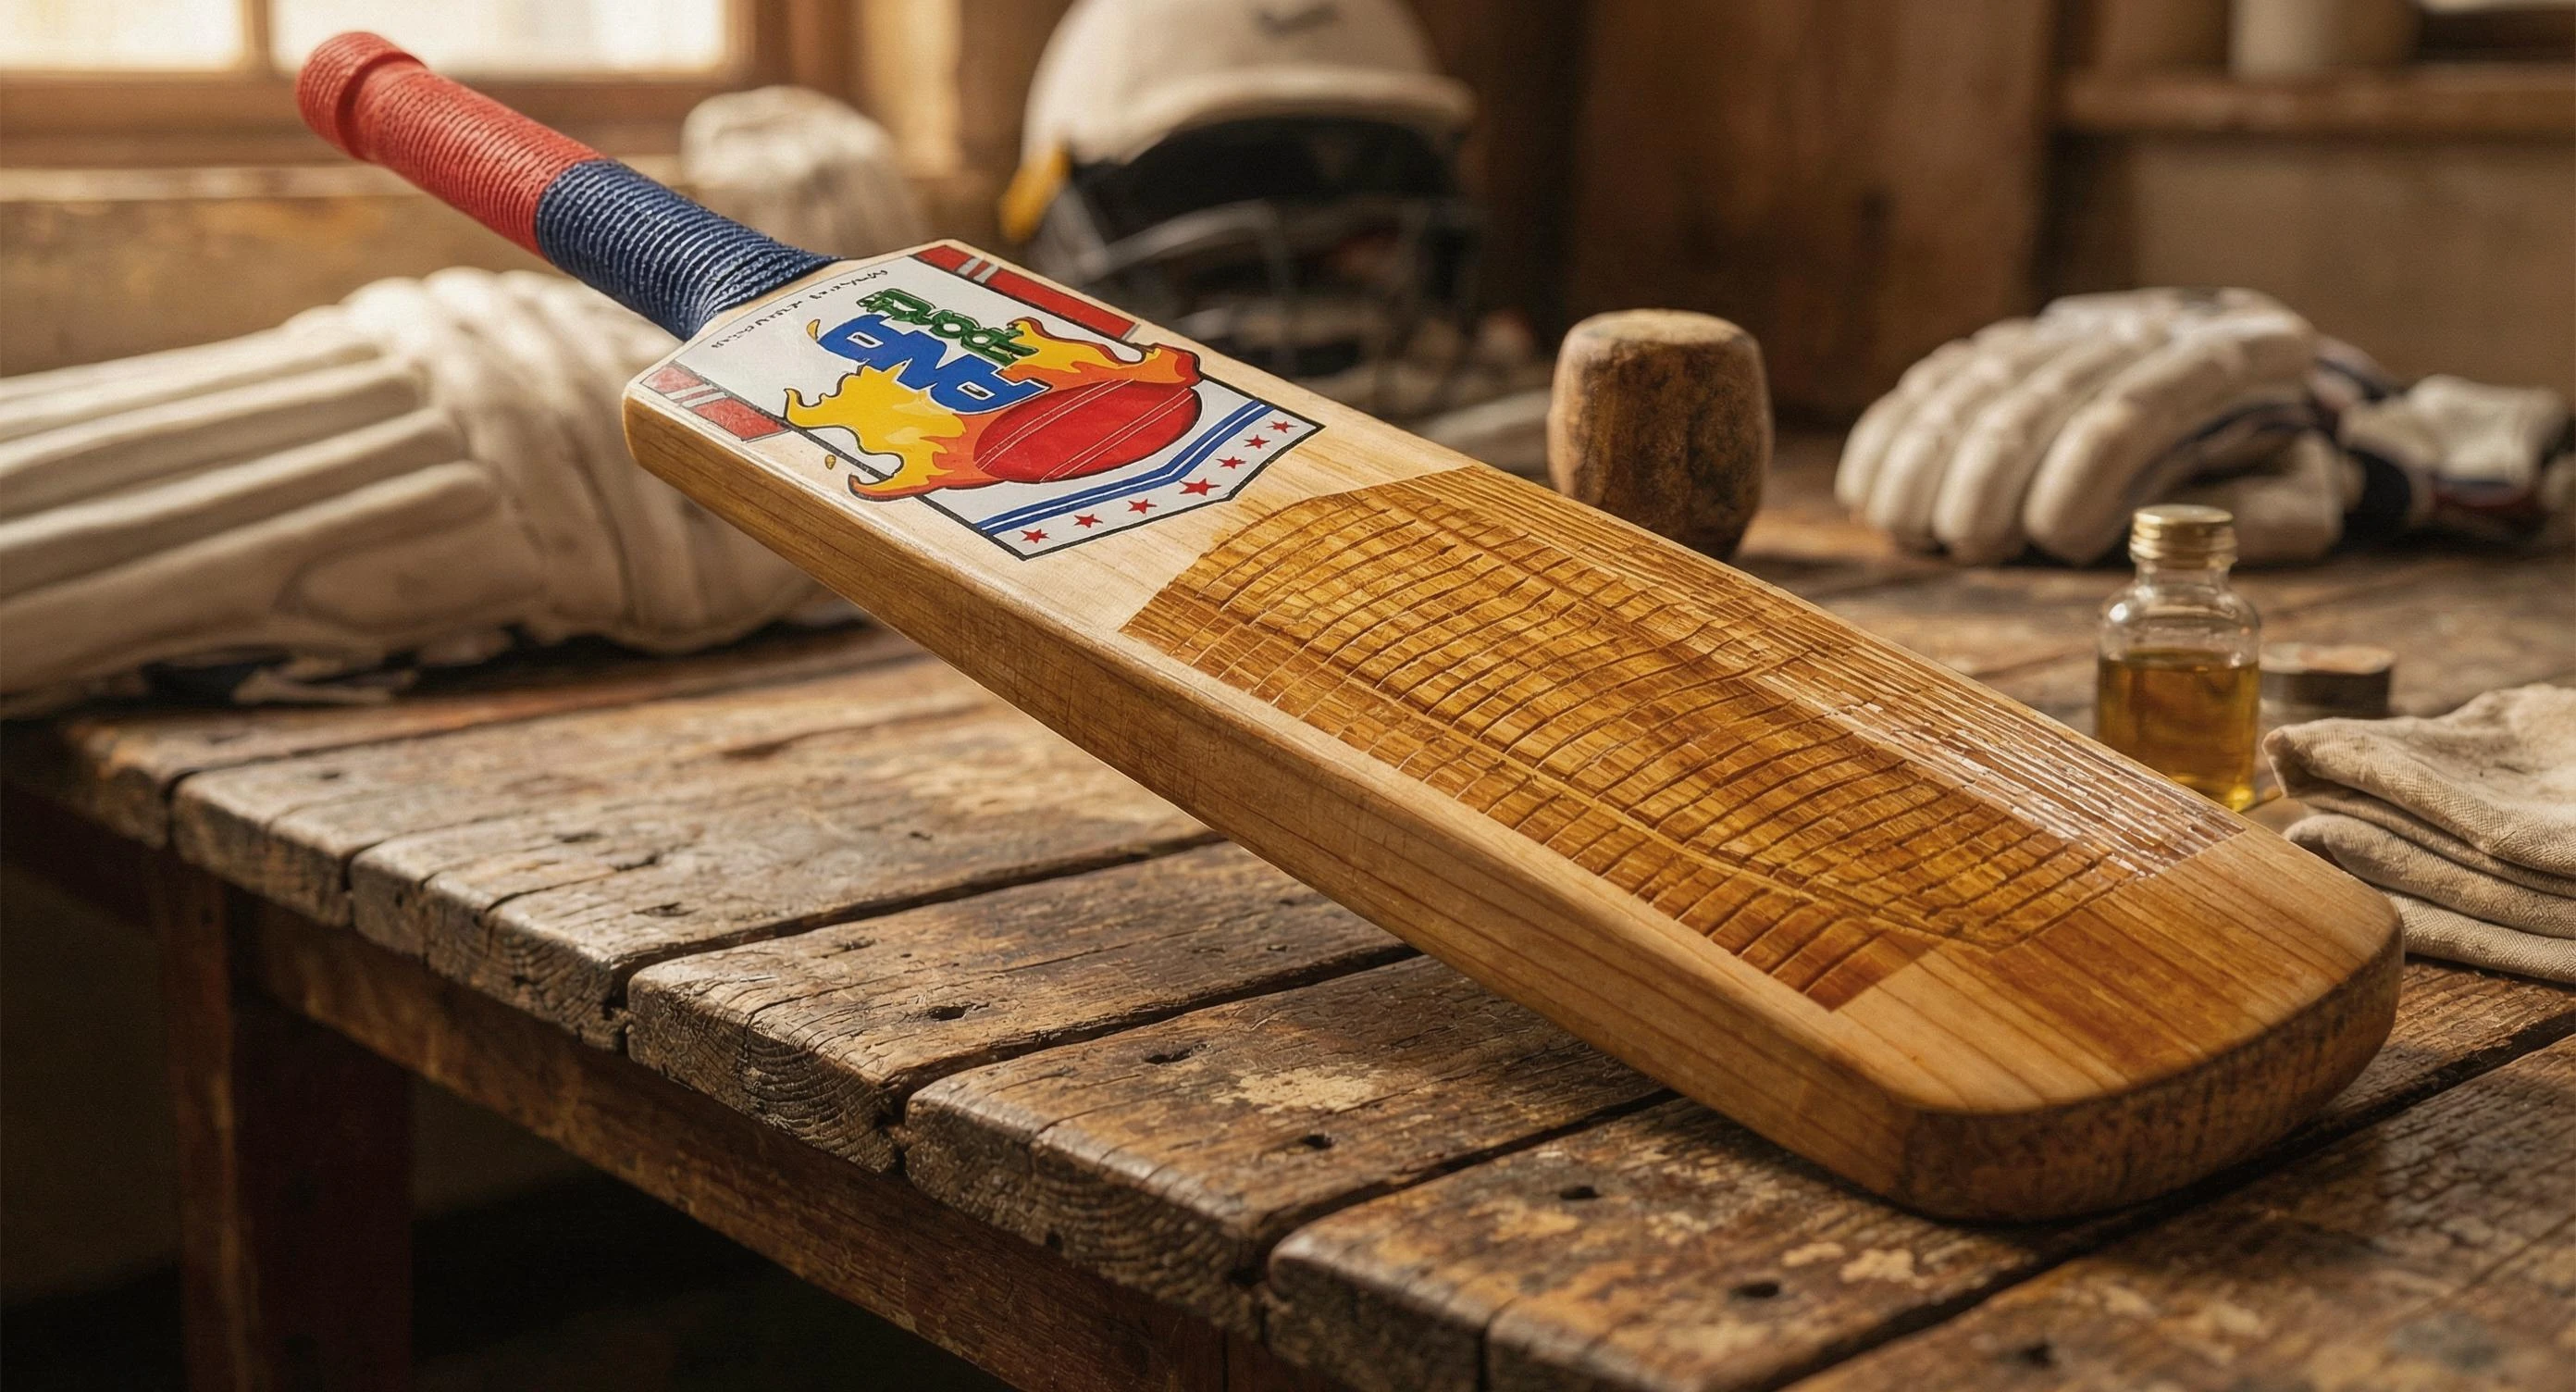
What You’ll Need Before You Start
Before you begin, gather these essentials:
• Raw linseed oil: the gold standard for bat oiling (avoid boiled linseed oil)
• A bat mallet: purpose-built wooden mallets are best; rubber mallets can be used carefully
• A soft cloth or paintbrush: for applying oil evenly
• An old leather ball or ball in a stocking: for the final conditioning phase
• Patience: this process takes multiple sessions over days, not hours
In our experience preparing bats across all grades and budgets, the two most common prep mistakes are using the wrong oil and rushing the process. Raw linseed oil is the only oil with the right viscosity to penetrate willow without clogging the grain. Avoid boiled linseed oil, vegetable oils, or anything synthetic. And patience isn’t optional; it’s part of the process. Having the right tools makes the process of knocking in a Cricket Bat far more effective and consistent.
Step-by-Step Guide to Knocking in a Cricket Bat Properly
Below are the essential steps to properly knock in a cricket bat, from oiling and gentle knocking to edge conditioning and match preparation. Following each step carefully helps strengthen the willow and prepares the bat for long-term performance.
Step 1 - Oil Your Bat First
Yes, oil before knocking, not after. This is where many beginners go wrong. Oiling is one of the most important stages in knocking in a Cricket Bat because it prepares the willow fibres for gradual compression.
How to oil a cricket bat:
-
Lay the bat face-up on a flat surface
-
Apply a thin, even coat of raw linseed oil using a cloth or soft brush
-
Cover the face, edges, back, and toe (avoid the splice and handle joint entirely)
-
Let the oil soak in for 24–48 hours in a cool, dry place (not in direct sun)
-
Wipe away any excess oil with a clean cloth
-
Repeat this oiling process 2–3 times before you begin knocking
How much oil is too much? If the bat looks wet or oil is pooling on the surface, you’ve applied too much. A light, barely visible sheen is all you need. Over-oiling softens the willow and actually reduces hardness, which is the opposite of what you want.
This is something we see frequently when customers bring bats in for inspection: well-intentioned over-oiling that has left the willow spongy rather than firm. More is not better here. Thin coats, fully dried, applied multiple times is always the right approach.
Step 2 - Start Gentle: The Breaking-In Phase
Once your bat has had its oiling sessions and is thoroughly dry, it’s time to knock. Start gently — this is non-negotiable.
Week 1 (Sessions 1 and 2): Light knocking, 30 to 45 minutes per session
-
Hold the bat steady or rest it on a surface
-
Use the rounded face of the mallet (never a flat metal object)
-
Strike the face of the bat with gentle, even strokes at about 25 to 30% of your maximum force
-
Work methodically: start from the toe, move to the middle, then up toward the shoulder
-
Cover the entire face in overlapping passes
Why start so gently? The willow fibres are still open. Striking hard too early can cause micro-fractures that later become full splits. Gentle, repeated impacts compress the fibres slowly and evenly, like kneading dough.
Step 3 - The Edge Conditioning Phase (Most Players Skip This)
Here’s what separates a properly knocked-in bat from an average one: edge conditioning.
The edges of your bat are the most vulnerable area. Proper edge preparation is a critical part of knocking in a Cricket Bat, especially for players using English willow bats. Most balls that catch an outside edge in real match play strike here, and yet most guides barely mention edge treatment. In our experience at ANA Sports, edge damage accounts for the majority of early-life bat failures we see, and almost all of it is preventable with proper technique during knocking in.
How to knock in cricket bat edges properly:
-
Hold the bat at a 45-degree angle (face tilted slightly toward you)
-
Strike the edge with glancing, angled blows and never straight-on, perpendicular strikes
-
Use a lighter force than on the face (edges are thinner and more delicate)
-
Work from the bottom edge upward in slow, overlapping passes
-
Repeat on both edges equally
Week 2 (Sessions 3 and 4): Medium knocking, 45 to 60 minutes per session
Increase the force to around 50% on the face. Continue careful edge work at 30–40% force. You should start to see a slight sheen developing on the face. This is compressed willow fibres knitting together.
Week 3 (Sessions 5 and 6): Full knocking, 45 to 60 minutes per session
You can now use 70–80% force on the face. Edges can handle 50–60% force. Do not exceed this. A bat is ready when it sounds slightly duller and more solid on impact compared to when you started.
Step 4 - The Ball-in-Stocking Test
This is the bridge between mallet work and real-world use. Place an old leather ball inside a cricket sock or stocking and swing it against the bat face, almost like a pendulum.
Why this matters: A mallet, despite its rounded face, still contacts the bat differently from a real ball. The ball-in-stocking method closely replicates the impact of a bowled delivery, and it’s particularly good for conditioning the toe and lower face, which are areas the mallet can struggle to reach at the right angle.
-
Swing the ball at medium pace, not flat-out throws
-
Focus on edges, toe, and the area just below the sweet spot
-
20–30 minutes of this bridges the gap nicely
Step 5 - Net Practice Before Match Use
Your bat isn’t match-ready yet. Some players also prefer using a separate Practice Cricket Bat during early net sessions before using their main match bat regularly. Before playing competitively, spend at least two net sessions with your bat against throw-downs or a bowling machine at reduced pace.
-
Start with medium-pace deliveries, no spinners
-
Avoid top-edging or playing reckless shots in nets; let the bat bed in
-
Watch for any visible cracks, dents, or damage after each session
If the bat survives two good net sessions without damage, it’s ready for match play.
Knocking In Without a Mallet: Home Alternatives
Don’t have a bat mallet? Here’s what works and what doesn’t.
Acceptable alternatives: -
-
An old cricket ball held firmly and rolled repeatedly along the face (time-consuming but effective).
-
A ball-in-stocking technique (described above): works well as both a substitute and a supplement.
-
A rounded wooden rolling pin: only if it has a smooth, rounded surface and you use light, even strokes.
What NOT to use: - Metal hammers (any type): leave flat dents and damage fibres - Rubber mallets with a flat face: create uneven compression - Tennis balls: too soft to properly compress willow fibres - Bare knuckle/hand rolling: ineffective and will hurt you more than help the bat
A bat mallet is a small, one-time investment, but it’s also the single tool most players leave out of their kit bag. If you’re serious about protecting a quality bat, it’s non-negotiable. We stock mallets alongside every bat category precisely because we’ve seen too many good bats lost to improvised alternatives.
Do Kids’ Cricket Bats Need Knocking In?
This is a question parents frequently ask, and one we get often at ANA Sports, especially around the start of the cricket season. The answer depends on the bat material.
-
Kashmir willow junior bats: Yes, they benefit from knocking in, but require significantly less time. 2–3 gentle sessions of 20–30 minutes, plus a light oiling, is usually sufficient. Junior bats face less pace, so intensive conditioning isn’t necessary.
-
Plastic/composite junior bats: No knocking in required. These are synthetic and not affected by the process.
-
English willow junior bats: Treat these exactly like adult bats. They’re premium pieces of equipment and deserve the full knocking-in process.
A good rule of thumb: if it’s real willow, it needs knocking in. Proper preparation is still important for Junior and Youth Bats, even though they usually require less knocking-in time than adult bats.
Common Knocking-In Mistakes to Avoid
These mistakes are especially common when choosing a Cricket Bat for Beginners, where players often rush into nets without properly preparing the willow.
-
Knocking in without oiling first: Oil lubricates and softens the fibres just enough to be compressed without cracking. Skipping oil means you’re beating brittle wood.
-
Hitting too hard, too soon: This is the single biggest cause of premature bat damage. Always build up force gradually over multiple sessions.
-
Neglecting the edges: The face gets all the attention. The edges get all the damage in real play. Spend at least 30% of your knocking time on edges.
-
Oiling the splice: Oil near the handle splice can weaken the glue bonding the handle to the blade. Always avoid this area.
-
Using a bat with a scuff sheet without removing it first: If your bat came with a pre-applied scuff sheet or anti-scuff sheet, you can knock in with it on, but oil the bat before applying the sheet. The sheet doesn’t prevent knocking in; it actually helps protect edges during this phase.
-
Skipping net sessions before matches: The mallet conditions fibres, but it can’t replicate a seam ball at pace. Always do net sessions before your first competitive innings.
How Long Does Knocking In Take?
Based on the bats we prepare and the feedback we receive from customers across all levels of play, here are the recommended knocking times by willow grade:
|
Bat Grade |
Minimum Knocking Time |
Recommended Sessions |
|
Kashmir Willow |
3–4 hours |
4–6 sessions |
|
Grade 3 English Willow |
4–6 hours |
5–7 sessions |
|
Grade 2 English Willow |
6–8 hours |
6–8 sessions |
|
Grade 1 English Willow |
8–10+ hours |
8–10+ sessions |
Higher-grade bats have softer, more open-grained willow, so they need more conditioning to reach the same level of hardness. This is why players often notice different preparation times across various Cricket Bat Grades. A Grade 1 bat rushed through the process is a Grade 1 bat wasted. When customers ask us which bat to buy, we always follow up with: " How much time are you willing to put into preparing it? The bat grade and the prep time have to match.
Final Thoughts: Protect Your Investment
Different Types of Cricket Bats can also respond differently during knocking in, depending on their willow quality, profile shape, and playing purpose. Knocking it in properly isn’t just maintenance; it’s respect for the craft and a smart investment in performance.
At ANA Sports, we’ve seen the full spectrum: bats that were lovingly prepared and lasted years, and bats that were rushed into a match and never recovered. The process outlined in this guide reflects exactly what we recommend to every customer who walks in — beginner, club cricketer, or aspiring academy player.
Here’s the simple process to remember:
- Oil first: Apply 2–3 coats of raw linseed oil, allowing the bat to dry fully between each coat
- Start gently: Take your time with the knocking-in process over weeks, not days
- Don’t neglect the edges: Proper edge conditioning helps protect the bat during real match play
- Use the ball-in-stocking technique before nets: This helps simulate real ball impact before practice sessions
- Net before you match: Give the bat a proper real-world test before using it in competitive games
Whether you’re opening the batting at the school level or club cricket, a properly prepared bat gives you confidence, durability, and better performance from the first delivery. Whether you’re opening the batting at school level or in club cricket, comfort and control also depend on choosing the right bat shape, especially when comparing a Long Handle vs Short Handle Cricket Bat.
Frequently Asked Questions
Is it necessary to knock in a cricket bat?
Yes, absolutely. Knocking in compresses and strengthens the willow fibres that make up the bat face and edges. Without it, your bat is highly susceptible to cracking, splitting, and denting, even from the first few balls. It’s not optional for any bat made from real willow.
How many knocks are required for a cricket bat?
There’s no exact number of individual knocks, but plan for 6–10 total hours of knocking spread across multiple sessions. Each session should involve hundreds of overlapping strikes, gradually increasing in force. Focus on coverage and consistency rather than counting individual strokes.
How long should you spend knocking in a cricket bat?
For a standard English willow bat, a minimum of 6–8 hours of total knocking is recommended, spread over 6–10 sessions across 2–3 weeks. Premium Grade 1 bats can take up to 10+ hours. Rushing this process is the most common and costly mistake a cricketer can make.
Can you knock in a bat with a cricket ball?
You can use an old leather ball for knocking in, but it’s far less efficient than a mallet. Hold the ball in your palm and roll/press it firmly across the bat face in repeated, controlled passes. A ball inside a stocking swung as a pendulum is more effective. Neither method replaces a proper mallet for face conditioning.
Is oiling better than knocking, or which comes first?
Both are essential; they work together, not in competition. Oil always comes first. Oiling softens and lubricates the willow fibres so that knocking can compress them effectively without cracking. Think of it as softening butter before kneading it. Oil 2 to 3 times, let the bat dry fully, then begin knocking.
Can you knock in a bat too hard?
Yes. Striking too hard, especially early in the process, causes micro-fractures in the willow that can eventually split. Always start at 25 to 30% force and build gradually. Even fully conditioned bats should be knocked at no more than 80% maximum force. Aggressive over-knocking can also flatten the natural curve (bow) of the blade.
Which knocking method for a cricket bat is best?
The best approach combines mallet knocking (for face and edges) with a ball-in-stocking technique (for replicating real ball impact, especially on the toe and lower face). Mallet alone is excellent but misses subtle areas; the ball-in-stocking bridges that gap before net sessions.
What happens if I don’t knock in a cricket bat?
Without knocking in, a hard cricket ball will stress the uncompressed willow fibres with each delivery. The result: surface dents from the first session, edge cracks within a few innings, and potentially a split blade from a well-timed cover drive. An unknocked bat used in a match can be ruined within a single innings.
Do you oil a cricket bat before knocking it in?
Yes, always oil before knocking, not after. Oil the face, edges, back, and toe (but not the splice or handle) 2 to 3 times, allowing 24 to 48 hours of drying between each coat. Once the bat is dry after the final oil coat, you can begin knocking. A small maintenance oil (one thin coat) every season keeps the bat in good shape during regular use.
How to knock in a bat properly at home without a hammer?
At home, your best options are: (1) a ball-in-stocking technique: put an old leather ball in a cricket sock and swing it at the bat face repeatedly at medium pace; (2) a smooth, rounded wooden rolling pin applied with firm, even pressure; or (3) simply rolling a hard ball firmly along the face by hand. Avoid any flat-faced or metal implements. These methods are slower but effective when done consistently across multiple sessions.
Do kids’ cricket bats need knocking in?
Real willow junior bats, both Kashmir and English willow, benefit from knocking in, though they need less time than adult bats. Two or three gentle 20 to 30-minute sessions, plus a light oiling, is typically enough for junior bats. Synthetic or plastic bats don’t need it at all. Preparation can also vary depending on the Cricket Bat Sizes being used, especially for younger players moving between junior and adult bats.
Which oil is used for bat knocking?
Raw linseed oil is the standard choice and recommended by virtually all bat manufacturers, and it’s what we advise every customer at ANA Sports regardless of their bat’s grade or price point. It has the right viscosity to penetrate willow without clogging the grain. Avoid boiled linseed oil (dries too quickly and can make the bat brittle), vegetable oils, olive oil, or petroleum-based products. Some specialist cricket bat oils are available and work well, but raw linseed oil remains the most trusted and widely available option.
Can I knock in a bat with a scuff sheet on it?
Yes, you can knock in a bat with an anti-scuff sheet already applied. The sheet won’t prevent the knocking process from working and actually helps protect the face during this vulnerable period. However, make sure you oil the bat before applying the sheet, as oil won’t penetrate through it. If the sheet was factory-applied and the bat was never oiled, remove it, oil, dry, then reapply a new sheet before knocking.


Related Blog
English Willow vs Kashmir Willow Cricket Bat: Which One Should You Actually Buy?
Nov 13, 2025 by Admin
ANA Sports